🔧 DIY Food Trailer Conversion: Turn Your Dream Kitchen on Wheels into Reality
Ever dreamed of owninghttp://yourdesignedfoodtrailer.shop a food trailer but felt daunted by the cost of buying one brand new? A DIY food trailer conversion might be your ticket to culinary freedom—without breaking the bank. Whether you’re a weekend tinkerer or a full-blown handyman, converting a trailer into a mobile kitchen is a rewarding project that combines creativity, craftsmanship, and entrepreneurship.
In this guide, we’ll walk you through the essentials of converting a trailer into a fully functional food business on wheels.
🚚 Step 1: Choose the Right Base Trailer
Your journey begins with selecting the right shell to build on.
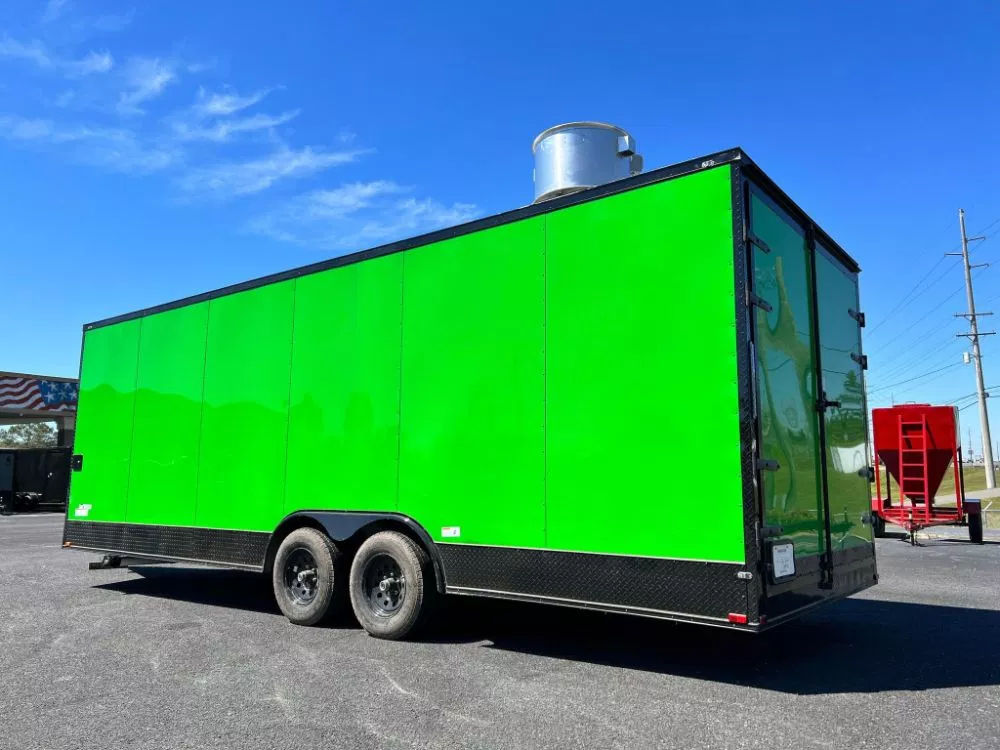
- Cargo trailers: Popular for conversions due to their enclosed space and durability.
- Horse trailers: Uniquehttp://commercialtrucktrader.com aesthetic and often spacious.
- Utility trailers: Open-air and customizable, but require more structural work.
- Used food trailers: May need refurbishing but come with built-in infrastructure.
Tip: Look for trailers with solid frames, minimal rust, and good tires. Size matters—consider your menu and equipment needs.
🧠 Step 2: Plan Your Layout and Design
Before you start drilling and wiring, sketch out your vision.
- Workflow efficiency: Arrange cooking, prep, and service areas for smooth operations.
- Equipment placement: http://bing.comFactor in ventilation, plumbing, and electrical needs.
- Customer access: Decide on service windows or walk-up counters.
- Storage: Maximize space with shelves, cabinets, and under-counter units.
Tools to use: CAD software, graph paper, or even cardboard mockups.
🔌 Step 3: Electrical and Plumbing Setup
This is where your trailer starts feeling like a real kitchen.
- Electrical system:
- Install a breaker panel
- Wire outlets for appliances
- Add LED lighting
- Consider solar panels or generator backup
- Plumbing system:
- Freshwater and greywater tanks
- Water pump and heater
- Handwashing and dishwashing sinks (health code requirement)
Pro tip: Hire licensed professionals for critical systems to ensure safety and code compliance.
🔥 Step 4: Install Kitchen Equipment
Time to bring in the heart of your operation.
- Cooking appliances: Grills, fryers, ovens, induction burners
- Refrigeration:http://usedvending.com Commercial fridge/freezer units
- Ventilation: Hood systems with fire suppression
- Prep stations: Stainless steel counters and cutting areas
Note: Choose compact, energy-efficient models designed for mobile use.
🎨 Step 5: Interior and Exterior Finishing
Make it functional—and fabulous.
- Interior:
- Non-slip flooring
- Easy-to-clean wall panels
- Insulation for temperature control
- Exterior:
- Paint or wrap with branding
- Install service windows and awnings
- Add signage and lighting
Bonus: Include a chalkboard menu or LED display for dynamic pricing and specials.
✅ Step 6: Licensing, Inspection, and Launch
Before you hit the road, make sure you’re legal and safe.
- Health department inspection
- Fire safety http://ebay.comcertification
- Business license and food handler permits
- Insurance coverage
- Commissary kitchen agreement (if required)
Once approved, you’re ready to roll!
💡 DIY Tips and Tricks
- Budget wisely: Track http://craigslist.orgexpenses and prioritize essentials.
- Repurpose materials: Salvage sinks, counters, or cabinets from old kitchens.
- Watch tutorials: YouTube and forums are gold mines for DIY advice.
- Document your build: Share your journey on social media—it builds your brand!
🚀 Final Thoughts
A DIY food trailer conversion is more than a project—it’s the start of a dream. With the right planning, tools, and passion, you can transform ahttp://facebook.com\marketplace humble trailer into a thriving mobile business. Whether you’re serving tacos, smoothies, or gourmet grilled cheese, your custom-built kitchen will reflect your unique flavor and hustle.
So grab your toolbox, fire up your imagination, and start building the food trailer that’ll take your culinary vision on the road.